“It’s been my experience that you can nearly always enjoy things if you make up your mind firmly that you will.”
— Anne of Green Gables, L. M. Montgomery, Chapter V
This letter may contain affiliate links. As an Amazon Associate I earn from qualifying purchases, at no extra cost to you.
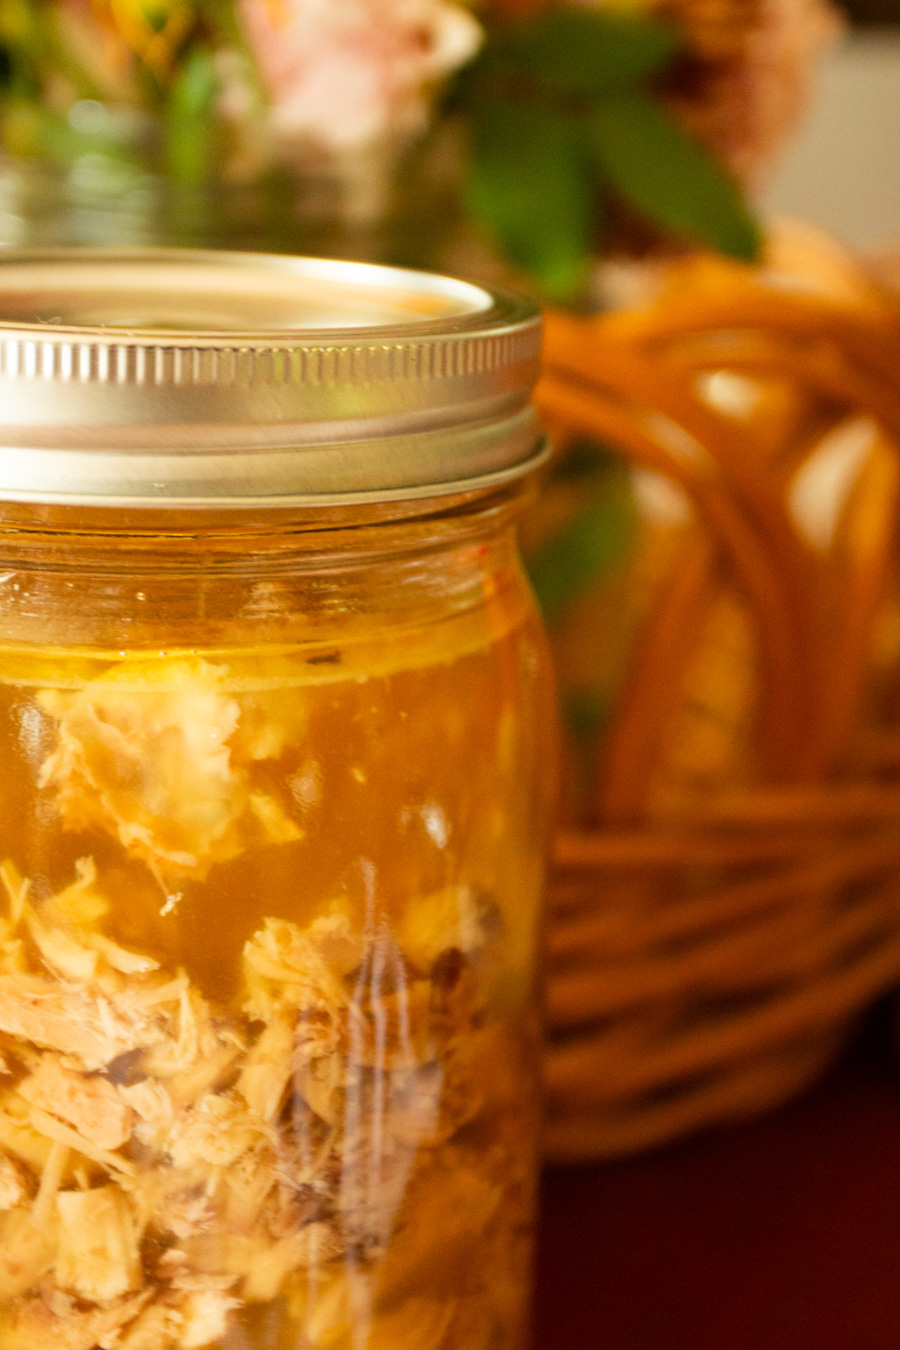
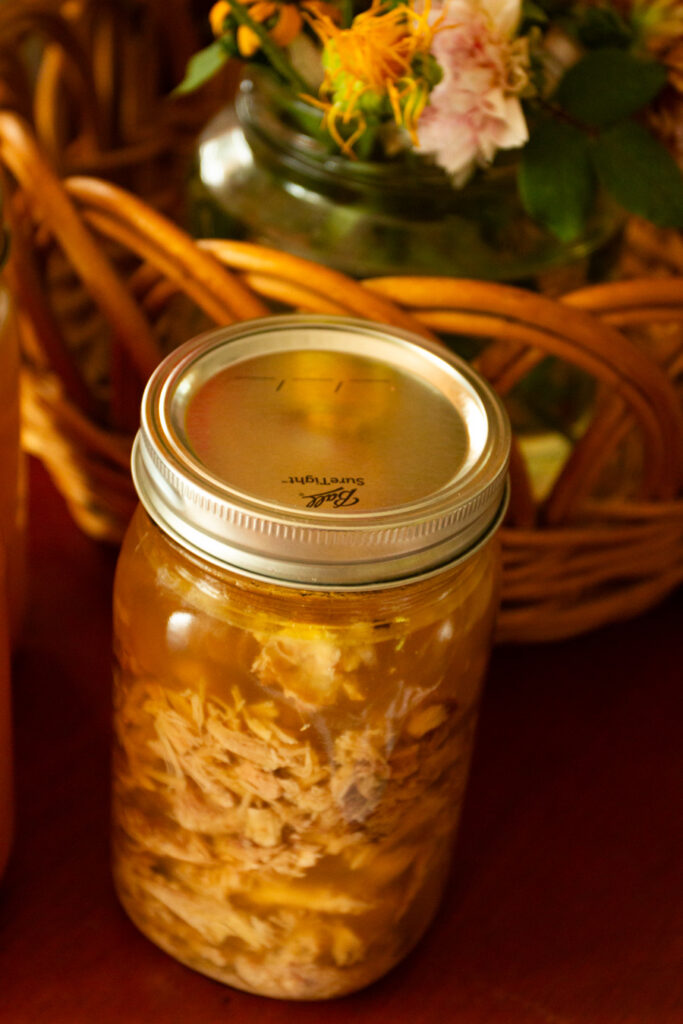
Jump to RecipeDid you know that you can pressure can chicken in jars? Freezing is a near-universal method of food preservation, especially for meat. However, as your freezer space fills up, and your freezer draws energy to keep food cold and fresh, there is another way to keep chicken for another day.
Low acid foods such as chicken, beef, and ham can be safely processed into jars in a home pressure canner such as an All-American or Presto.
When you spend so much time and money on food, you want to make sure that none of it goes to waste. One way of doing this is to make it shelf-stable so you don’t have to spend energy keeping the meat at proper freezing temperatures to prevent spoilage.
While canning in this day and age can seem like a ridiculous, unnecessary extra to many people, it can easily become part of your everyday routine.
You can process fresh chicken quickly while you do other things. After you have done it a few times, it becomes habitual and second-nature to pop a few jars in after dinner.
You do not have to set aside entire days for food preserving. People totally do commit days to food preserving, especially if they have bushels of tomatoes to process quickly or something. But, if you are working with some leftovers or are simply trying to clear space in your freezer, adding a couple of jars to the pressure canner as you go about your day becomes almost automatic. As an added bonus, when you use it, all you have to do is open the jar and empty it into a pan with some sauce, soup, or seasoning. The work is almost done when you open the jar.
Preserving delicious, flavorful meat can be very easy. Try it! You will like the ease and convenience.
CANNING CHICKEN TIPS:
- Be sure to follow all applicable food safety instructions. You will find many conflicting pieces of advice about food preserving (especially meat), including open kettle or water bath canning. Do your research and follow all food safety guidelines.
- When in doubt, throw it out. You may experience a learning curve at first if some of your canned chicken goes bad because you missed an important step. Chalk it up to the cost of education and do not eat it.
- If a lid pops while in storage, do not eat the chicken. Often, lids will pop because of pressure inside the jar, which means there is a bacterial imbalance.
- You can very well can a finished product, such as Chicken Soup or Shredded Taco Meat. However, sometimes it is nice to have just plain chicken so you can finish the recipe after opening it.
- If you are planning on using the chicken in a recipe that calls for dairy, flour (such as gravy or pasta), rice, or a creamy soup base, add it when you are preparing your food to serve. Do not can a flour gravy or pasta. The heat and pressure often do not reach the middle of the jar, creating a food safety issue.
- If you want to can a whole soup recipe instead of just the chicken, here is my pressure canned chicken soup.
Please evaluate these instructions against the USDA and FDA guidelines for safety. Please read the official guidelines for safety.
CANNED CHICKEN FAQ:
How long should you pressure can chicken?
Be sure to follow all applicable guidelines for safely processing meat at home. If you are using an All American or Presto Pressure Canner, the standard amount of time is 75 minutes for pints and 90 minutes for quarts at 15 lbs of pressure. (Adjust for altitude.)
Is canned chicken good for you?
Canned chicken is a great source of lean protein as well as vitamins A, B, C, D, and other important nutrients.
Why pressure can chicken?
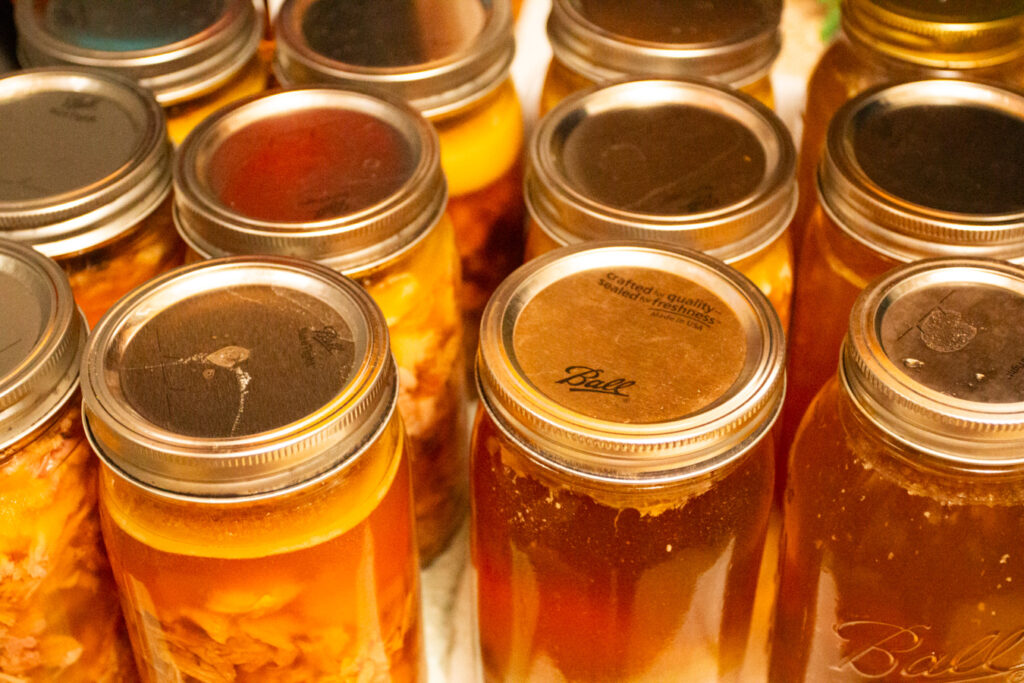
There are so many benefits to pressure canning chicken. You don’t have to remember to thaw it out, and it costs no energy to keep it on the shelf. If the power goes out, it does not affect it at all.
INGREDIENTS:
- Shredded chicken
- Bone Broth
- High mineral Salt
- Peppercorns
CANNED CHICKEN TOOLS:
- Jars, rings, and lids
- Debubbler
- Ladle
- Wide mouth funnel
- Jar lifter
- Pressure canner with rack (Presto or All American)
- Wooden cutting board
- Knife
- Long handled spoon
- I always use these flour sack towels when cooking.
HOW TO CAN CHICKEN:
- Please do your own research on safe methods of home food preservation. Consult FDA guidelines, the Ball Book of Canning, your Pressure Canner Manual, and Everything Worth Preserving for more detailed information about how to safely preserve food at home.
- Begin by sterilizing your jars, lids, and rings with hot water. You can sterilize them in the sink with hot water, a dishwasher with a heat cycle, or a waterbath canner.
- Shred chicken.
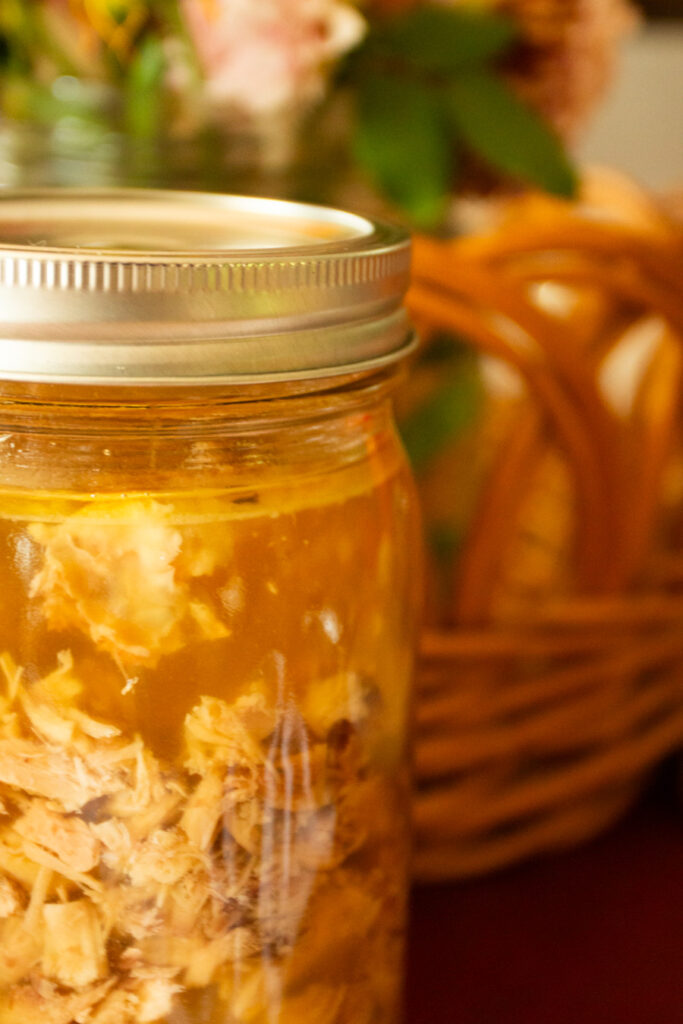
- Fill hot jars 3/4 full with shredded chicken. Don’t pack them in too tightly because you want the broth to fill the crevices with no air pockets.
- Fill jars to 1/4″ head space with hot broth and de-bubble.
- Wipe rims with clean cloth and secure lids and bands finger tight.
- Follow manufacturer’s instructions as to how to set up your pressure canner. Make sure all attachments (gauges, vents, etc.) fit snugly according to the user manual.
- Put jars into the pressure canner on the bottom rack. Add the amount of water specified for your pressure canner.
- Attach lid and bring to medium high heat.
- Allow the canner to vent for 10 minutes before adding the weighted gauge.
- For quart jars, process for 90 minutes at 15 lbs of pressure.
- Allow the pressure canner to depressurize naturally.
- When the pressure is down to 0, remove the lid away from your face.
- Lift jars out with jar lifter and place on a towel to protect your surfaces from the heat.
- Let the jars sit out for at least 12 hours before storing away.
- Remove rings and check seals. If any seals failed, put that jar in the fridge to use first.
Pressure Canned Chicken
Equipment
- Jars, Rings, and Lids
- Debubbler
- Wide mouth funnel
- Jar lifter
- All American or Presto Pressure Canner with rack
Ingredients
- Shredded chicken
- Bone Broth
- Salt
- Peppercorns
Instructions
- Please do your own research on safe methods of home food preservation. Consult FDA guidelines, the Ball Book of Canning, your Pressure Canner Manual, and Everything Worth Preserving for more detailed information about how to safely preserve food at home.
- Begin by sterilizing your jars, lids, and rings with hot water. You can sterilize them in the sink with hot water, a dishwasher with a heat cycle, or a waterbath canner.
- Shred chicken.
- Fill hot jars 3/4 full with shredded chicken. Don’t pack them in too tightly because you want the broth to fill the crevices with no air pockets.
- Fill jars to 1/4″ head space with hot broth and de-bubble.
- Wipe rims with clean cloth and secure lids and bands finger tight.
- Follow manufacturer’s instructions as to how to set up your pressure canner. Make sure all attachments (gauges, vents, etc.) fit snugly according to the user manual.
- Put jars into the pressure canner on the bottom rack. Add the amount of water specified for your pressure canner.
- Attach lid and bring to medium high heat.
- Allow the canner to vent for 10 minutes before adding the weighted gauge.
- For quart jars, process for 90 minutes at 15 lbs of pressure.
- Allow the pressure canner to depressurize naturally.
- When the pressure is down to 0, remove the lid away from your face.
- Lift jars out with jar lifter and place on a towel to protect your surfaces from the heat.
- Let the jars sit out for at least 12 hours before storing away.
- Remove rings and check seals. If any seals failed, put that jar in the fridge to use first.
HOW TO SERVE:
- Chicken Soup
- Chicken Salad
- Shredded chicken tacos
- Barbecue chicken
YOU MAY ALSO ENJOY…
- Chocolate Pudding from ScratchA beautiful smooth, creamy pudding with chocolatey goodness. It is perfect for eating with homemade whipped cream.
- Peach Pie with Flaky Sourdough Crust – This amazing peach pie is delicious and flavorful. Summer is simply not allowed to end without peaches. The crust is flaky and buttery, the filling tart and sweet, bursting with all the goodness of summer. Top this with homemade whipped cream for the crown jewel.
- Spicy Plum Jam – This sweet plum jam has a tiny edge of autumn spice in it. Easy to can at home with just a few ingredients, it is a perfect winter pantry staple. Plum jam combines all of the abundance of summer with the spiciness of fall. It is the ultimate comfort food through the cozy winter, especially when slathered on a slice of buttered sourdough bread and eaten with sips of a warm drink in between. There is nothing better!
- Sourdough Pie Crust – This recipe is buttery, flaky, and everything a pie crust should be. When you have a busy schedule, making your own pie crust seems like such an extra job. But if you are already making a pie, this crust is very easy to whip up while you are in baking mode.
- Bone Broth – The cornerstone of all soup recipes, timeless bone broth has a significant nutritional advantage over regular chicken broth. Now known for comfort, this broth is the foundation of healing, too.