


“A cool wind was blowing down over the long harvest fields from the rims of firry western hills and whistling through the poplars.”
— Anne of Green Gables, L. M. Montgomery, Chapter XXII
This letter may contain affiliate links. As an Amazon Associate I earn from qualifying purchases, at no extra cost to you.
Jump to RecipeThe cornerstone of all soup recipes, timeless bone broth has a significant nutritional advantage over regular chicken broth. Now known for comfort, this broth is the foundation of healing, too.
Many modern soup recipes call for a sodium based water to add flavor and help all of the other ingredients congeal. (And, you can make a delicious soup this way!) However, if you make this broth out of chicken, beef, and ham bones, it boasts not only flavor, warmth, and comfort, but also protein, collagen, potassium, phosphorous, calcium, and magnesium. No wonder people drink chicken soup when they are sick. It is actually healing!
Several popular diet trends, such as Autoimmune Paleo (AIP), GAPS (Gut and Psychology), and several others advocate for drinking a cup of bone broth every day instead of coffee. While I personally cannot give up my morning coffee, I cannot at all argue with the health benefits of nourishing bone broth to your body.
When you have a busy schedule, saving bones from your cooking to make broth sounds like an extra job. But, when you get into the routine of cooking from scratch, it becomes second nature to throw your bones into a gallon bag and throw them in the freezer for your next batch of bone broth.
Soup making tends to be seasonal based on the coziness of it. Very few people want to sip on a warm bowl of broth when it is 100 degrees outside. However, there are benefits to your body year-round.
When it comes to making bone broth, your countertop appliances come in very handy. You could stand over a stock pot and stir all day – but in all honesty, who has time for that? Throw them in the crock pot or Instant pot and let your appliance do all the work. I have made broth all three ways, and the quality is just as good if you use a method that doesn’t demand your attention while it is cooking. Especially if you have small children, homeschooling, and taking care of a million things, it is helpful to delegate your time to a crock pot or Instant pot when you can.
You do not have to serve bone broth just as a soup. Soup is delicious, but you probably want more variety in your diet. Keep a bit of broth in your refrigerator and use it in place of water in many savory recipes. You can cook rice, vegetables, and beans in bone broth. You can add it to chili or make a roux for chicken pot pie. You an add it to a crust or homemade pasta recipe. You can mix it with cooked carrots and peas for homemade baby food. The possibilities are numerous, and you can create many delicious recipes using broth other than soup.
A ridiculously flavorful, high-nutrient savory broth, you can serve it as-is, make a soup out of it, or use it in another recipe.
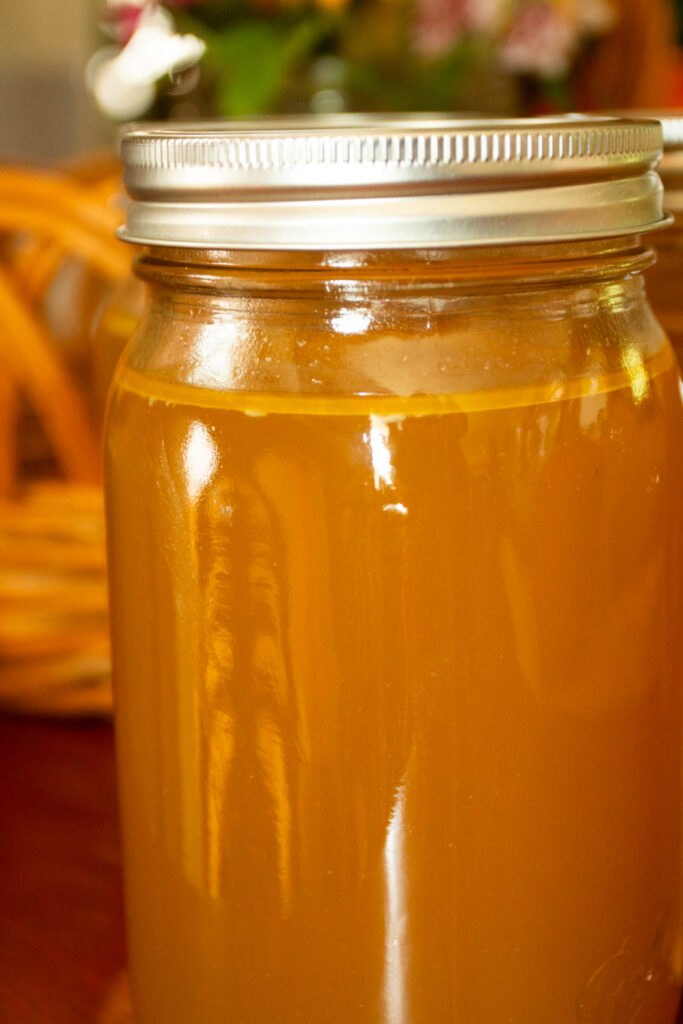
BONE BROTH TIPS:
- This is definitely a make-ahead recipe. You can definitely make it on the spot for a specific meal, but it will be to a greater time advantage if you make a big batch of broth for the pantry.
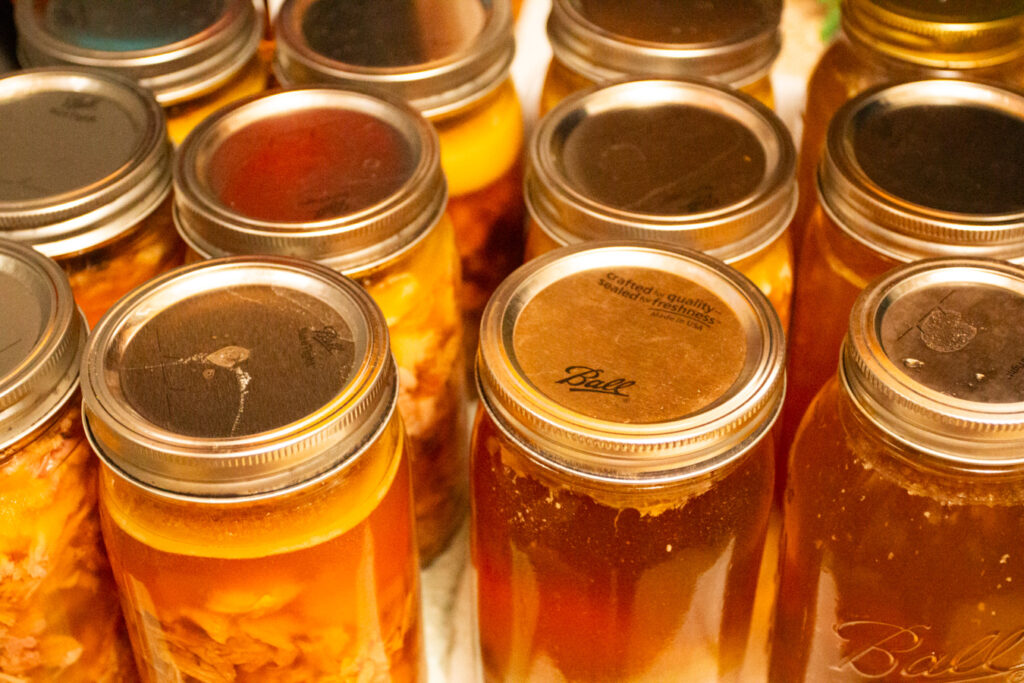
- Broth can be canned or frozen. I have even heard of some people freeze drying it into a powder for smoothies, but I have never done that.
- Add a little Apple Cider Vinegar to your broth to help extract more of the minerals from the bones.
- Add high nutrient mineral salt for health benefits and flavor both.
Please evaluate these instructions against the USDA and FDA guidelines for safety. Please read the official guidelines for safety.
Bone broth is rich in collagen, which helps with: connective tissue, gut health, reducing joint pain and chronic inflammation, improving skin elasticity, building your immune system, and many other things!
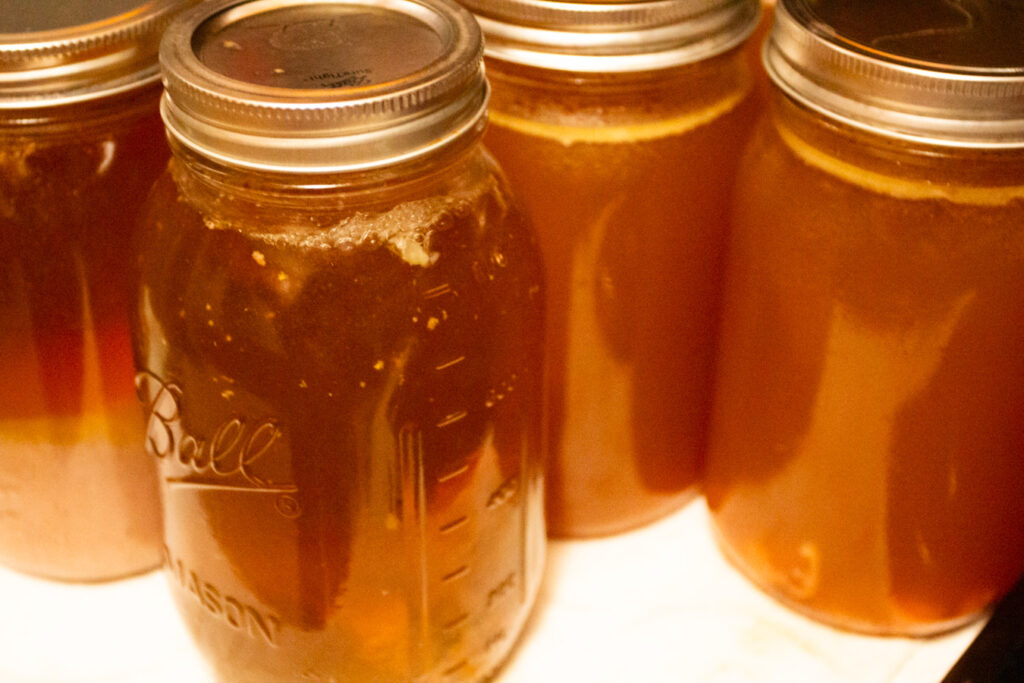
INGREDIENTS
- Leftover bones from chicken, ham, pork, beef, or even fish.
- Apple Cider Vinegar
- Bay Leaves (optional)
- Peppercorns
- Vegetables if desired, to make a joint vegetable and bone broth
- High nutrient mineral salt (Sea Salt, Celtic Sea Salt, Himalayan Sea Salt, or something to that effect.)
- Filtered Water (I use a Berkey filter).
TOOLS
- Stock Pot, Slow Cooker, or Instant Pot
- Long handled spoon for stirring
- Strainer
- If canning: Presto or All American Pressure Canner
- Jar Lifter
- Debubbler
- Ladle
- I always use these Flour Sack Towels when cooking.
HOW TO MAKE BONE BROTH:
Canning advice: please follow the applicable rules and advice for canning safety. Your altitude, type of canner, jars, lids, and rings could require an adjustment to the recommendations given below. The Ball Book of Canning and Preserving as well as Everything Worth Preserving by Melissa K. Norris go into greater depth as to rules for canning safety.
- Add bones to stock pot, instant pot, or crock pot.
- Fill the pot with filtered water.
- Add Apple Cider Vinegar, Salt, and chopped vegetables.
- Stock Pot: cover with a lid let it simmer on the stove top all day. It should develop a foam on top as it boils. Stir occasionally throughout the day to prevent pieces from sticking to the bottom of the pot.
- Slow Cooker: cover with the Slow Cooker Lid and turn on low. It should cook without requiring stirring, but you can check on it periodically to make sure. You will want to let it cook longer so the bones can de-mineralize into the water fully.
- Instant Pot: If your IP does not have a soup button, turn it onto High Pressure for 10 minutes. It will take some time to get up to pressure, and then the timer will automatically begin. Allow the pressure to decelerate naturally without releasing the pressure valve. You want to keep the liquid in as much as possible.
- Sterilize quart jars, lids, and rings for pressure canning.
- While the broth and jars are hot, use a wide mouth funnel to add broth to jars.
- Wipe rims with clean cloth. Add lids to fingertip tight.
- Add jars to pressure canner with rack at the bottom.
- Follow manufacturer’s instructions as to how much water to add to the pressure canner. Make sure that all parts are assembled (gauges, vents, etc.) according to the instructions provided with the pressure canner.
- Bring the pressure canner to pressure for about 10 minutes before adding the weighted gauge.
- Process quart jars for 25 minutes at 10-11 pounds of pressure. (Adjust for altitude- consult the Ball Book of Canning or Everything Worth Preserving for detailed information and instructions about pressure canning.)
- When the pressure has decelerated to zero, remove the lid away from your face and lift jars out with a jar lifter onto a clean towel. (This is necessary to protect your countertops and the jars from the heat.)
- The jars should sit overnight at least before moving to long term storage.
- Remove rings; check the seal of each jar. If any jar did not fully seal, put it in the refrigerator to use first.
Bone Broth
Equipment
- Stock Pot, Slow Cooker, or Instant Pot
- long handled spoon for stirring
- Strainer
Ingredients
- Leftover bones from chicken ham, pork, beef, or even fish.
- Apple Cider Vinegar
- Bay Leaves optional
- Vegetables if desired to make a joint vegetable and bone broth
- High nutrient mineral salt Sea Salt, Celtic Sea Salt, Himalayan Sea Salt, or something to that effect.
- Filtered Water
Instructions
- The amount of time this recipe will take depends on whether you are using an Instant Pot, a Slow Cooker, or cooking it over the range in a stock pot.
- Add bones to stock pot, instant pot, or crock pot.
- Fill the pot with filtered water.
- Add Apple Cider Vinegar, Salt, and chopped vegetables.
- Stock Pot: cover with a lid let it simmer on the stove top all day. It should develop a foam on top as it boils. Stir occasionally throughout the day to prevent pieces from sticking to the bottom of the pot.
- Slow Cooker: cover with the Slow Cooker Lid and turn on low. It should cook without requiring stirring, but you can check on it periodically to make sure. You will want to let it cook longer so the bones can de-mineralize into the water fully.
- Instant Pot: If your IP does not have a soup button, turn it onto High Pressure for 10 minutes. It will take some time to get up to pressure, and then the timer will automatically begin. Allow the pressure to decelerate naturally without releasing the pressure valve. You want to keep the liquid in as much as possible.
- Sterilize quart jars, lids, and rings for pressure canning.
- While the broth and jars are hot, use a wide mouth funnel to add broth to jars.
- Wipe rims with clean cloth. Add lids to fingertip tight.
- Add jars to pressure canner with rack at the bottom.
- Follow manufacturer’s instructions as to how much water to add to the pressure canner. Make sure that all parts are assembled (gauges, vents, etc.) according to the instructions provided with the pressure canner.
- Bring the pressure canner to pressure for about 10 minutes before adding the weighted gauge.
- Process quart jars for 25 minutes at 10-11 pounds of pressure. (Adjust for altitude- consult the Ball Book of Canning or Everything Worth Preserving for detailed information and instructions about pressure canning.)
- When the pressure has decelerated to zero, remove the lid away from your face and lift jars out with a jar lifter onto a clean towel. (This is necessary to protect your countertops and the jars from the heat.)
- The jars should sit overnight at least before moving to long term storage.
- Remove rings; check the seal of each jar. If any jar did not fully seal, put it in the refrigerator to use first.
HOW TO SERVE:
- Use the bone broth as the foundation of a delicious chicken soup.
- Serve with crusty sourdough bread.
- Use in place of water in any savory recipe.
- Cook rice or pasta in bone broth, and then use excess water for vegetables.
- Make baby food with gentle cooked carrots and peas, using bone broth in place of water.
- Drink as-is a warm drink in a mug.
YOU MAY ALSO ENJOY…
- Tomato Sauce for Waterbath Canning – This delicious, unseasoned tomato sauce is the base for so a wonderful comfort foods: tomato soup, spaghetti sauce, pizza sauce, chili, or ketchup. So many of our favorite foods are based on this original classic.
- Chocolate Pudding from ScratchA beautiful smooth, creamy pudding with chocolatey goodness. It is perfect for eating with homemade whipped cream.
- Peach Pie with Flaky Sourdough Crust – This amazing peach pie is delicious and flavorful. Summer is simply not allowed to end without peaches. The crust is flaky and buttery, the filling tart and sweet, bursting with all the goodness of summer. Top this with homemade whipped cream for the crown jewel.
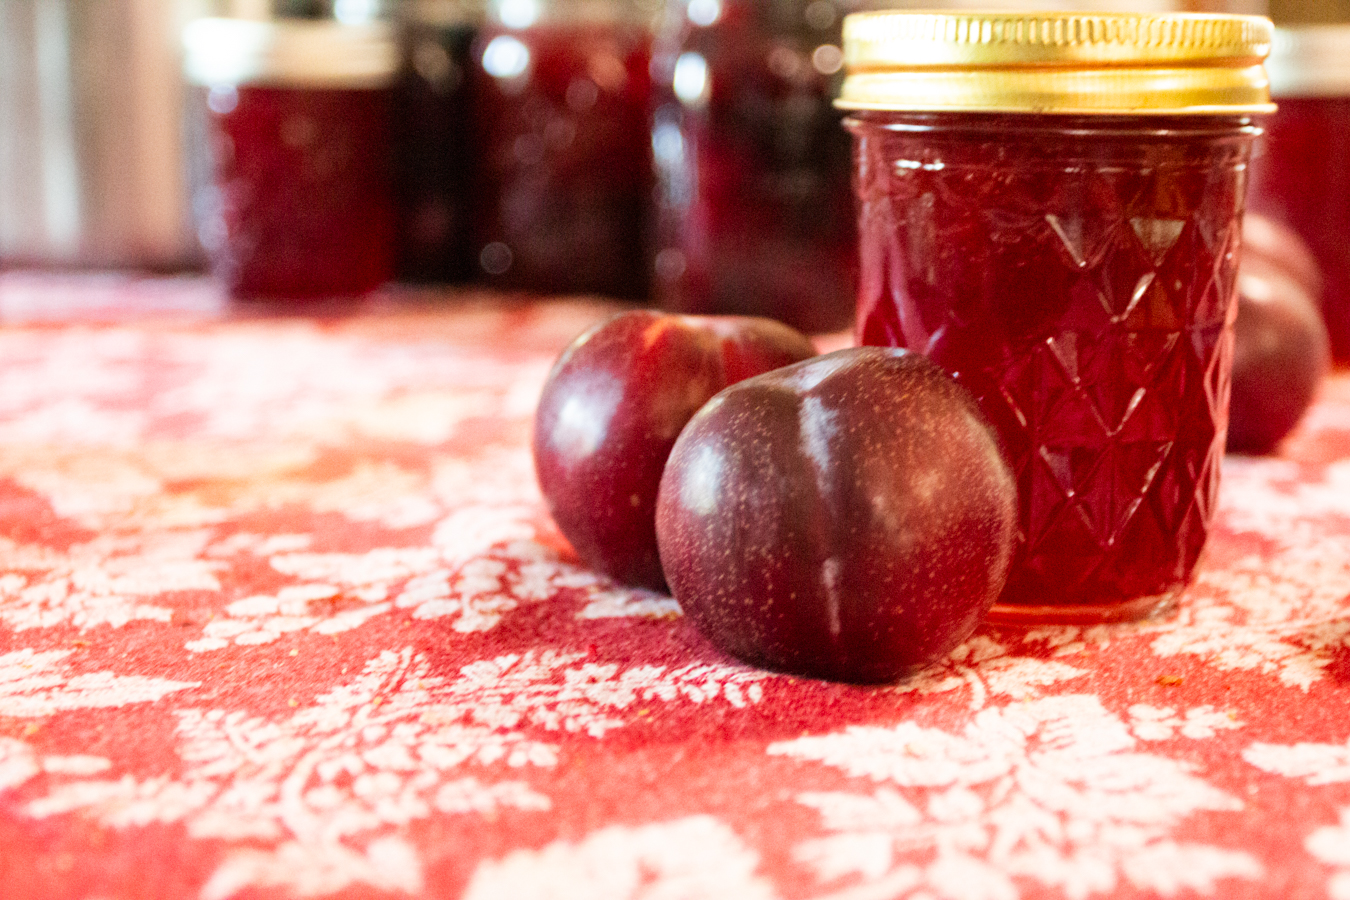
- Spicy Plum Jam – This sweet plum jam has a tiny edge of autumn spice in it. Easy to can at home with just a few ingredients, it is a perfect winter pantry staple. Plum jam combines all of the abundance of summer with the spiciness of fall. It is the ultimate comfort food through the cozy winter, especially when slathered on a slice of buttered sourdough bread and eaten with sips of a warm drink in between. There is nothing better!
- Sourdough Pie Crust – This recipe is buttery, flaky, and everything a pie crust should be. When you have a busy schedule, making your own pie crust seems like such an extra job. But if you are already making a pie, this crust is very easy to whip up while you are in baking mode.



2 Comments