“Fired with a housewifely wish to see her storeroom stocked with homemade preserves, she undertook to put up her own currant jelly.”
— Little Women, Louisa May Alcott, Chapter Twenty-Eight
This letter may contain affiliate links. As an Amazon Associate I earn from qualifying purchases, at no extra cost to you.
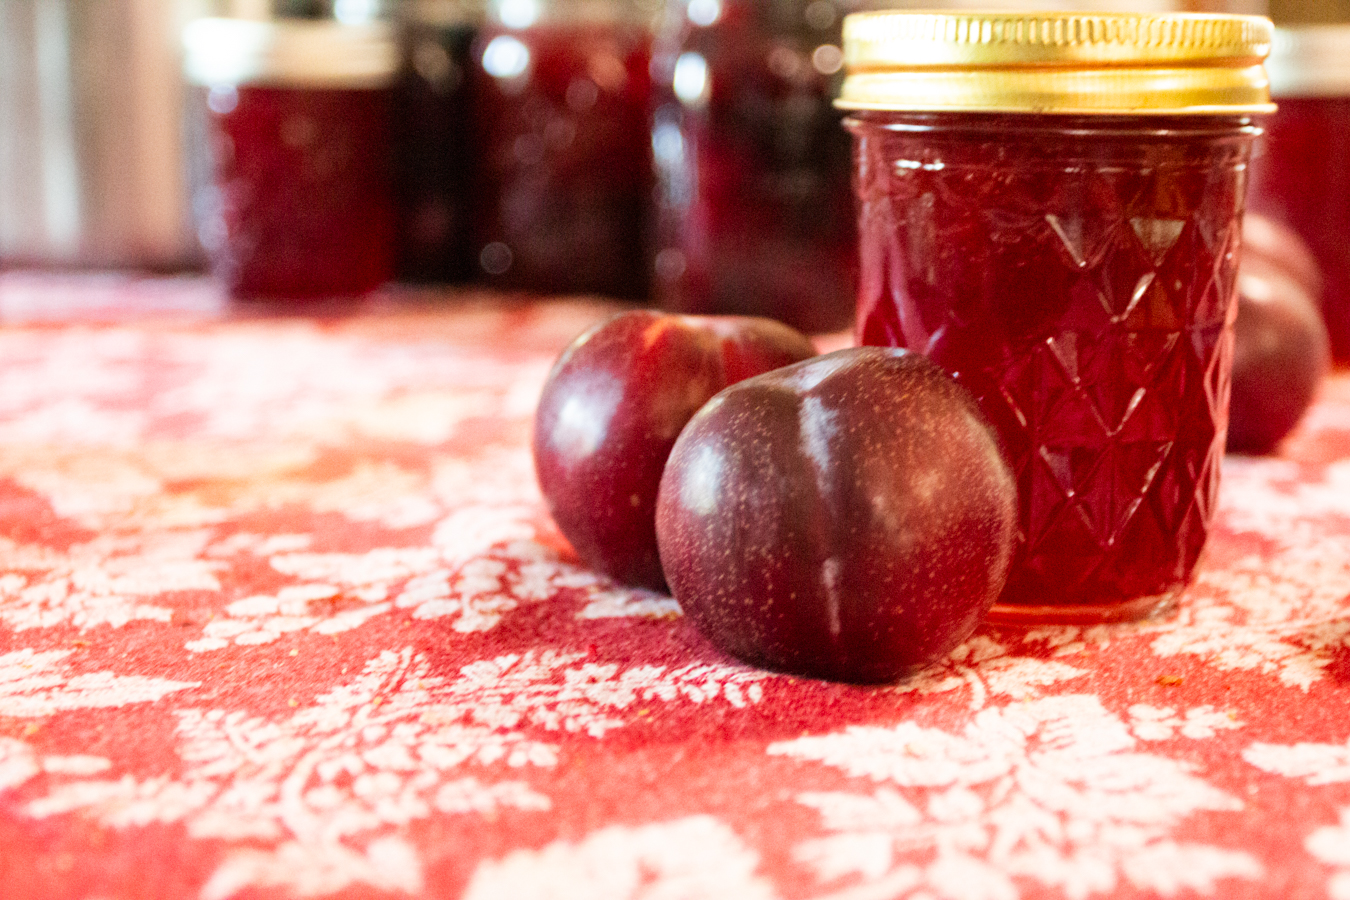
Jump to RecipeThis sweet plum jam has a tiny edge of autumn spice in it. Easy to can at home with just a few ingredients, it is a perfect winter pantry staple.
Plum jam combines all of the abundance of summer with the spiciness of fall. It is the ultimate comfort food through the cozy winter, especially when slathered on a slice of buttered sourdough bread and eaten with sips of a warm drink in between. There is nothing better!
When you have a busy schedule, jam and jelly making is such a back burner priority for many people. But, it is a wonderful treat to have on hand for your family. A jar of home canned plum jam also makes for an inexpensive, delicious, low-stress gift at the holidays.
Making plum jam is really very simple because there are a lot of wait times/ rest times in water bath canning. You can make six jars or six hundred, whatever quantity you have supplies and stamina for because it is so versatile. Since it is an easily preserved fruit, it needs just ten minutes in a water bath canner and you are on your way.
Many people have full days of food preserving, but you do not have to do that. You can even do it in stages: sterilize and pack your jars in the afternoon, then boil in the water bath canner in the evening while you are washing supper dishes. Water bath canning is also much less scary than pressure canning (no dials or gauges or anything like that!) so you can involve children in the preparation process as well.
I can’t explain the thrill of opening a jar of jam that you made, to spread on a slice of bread that you also made. Crack into it with people you love – that is the ultimate life!
A blend that is sweet with the tiniest edge of autumn spice, you can flavor your yogurt with it, spread it on bread, put it on pancakes, make a delicious sandwich, or eat it on toast.
PLUM JAM TIPS:
- Don’t skimp on the lemon juice because of the necessary ph levels in your canned goods. The lemon juice is not included in the recipe for flavor; it is included because it contains the acidity to ensure that the jam is appropriately shelf stable. (This recipe works because the flavors work very well together!)
- If you do not have any kind of sieve with a crank that turns, you can remove cores, pits, skins, and stems before adding the fruit to the stock pot. Alternatively, you can strain the mixture through a ricer to catch bits that you do not want in your finished jam.
- Make sure to sterilize your jars and wipe the rims before adding the lids.
- This is a make-ahead recipe because it has to chill in the fridge. Plan on starting the process briefly the day before, chilling overnight, and finishing it the next day.
- During the winter, I love using plum jam that we canned in the summer.
Please evaluate these instructions against the USDA and FDA guidelines for safety. Please read the official guidelines for safety.
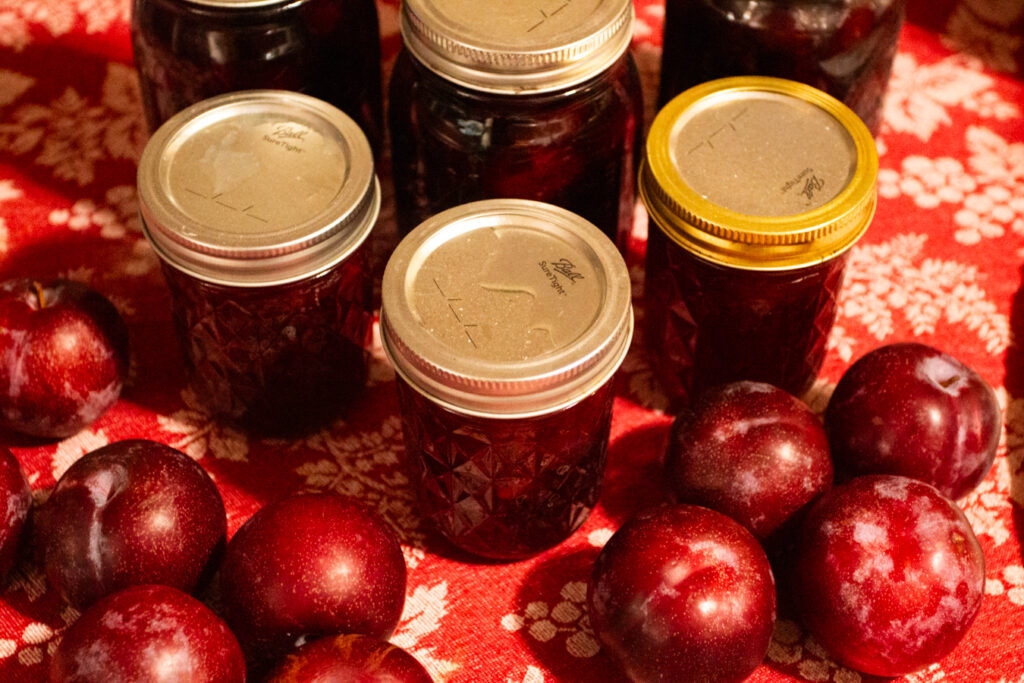
PLUM JAM INGREDIENTS:
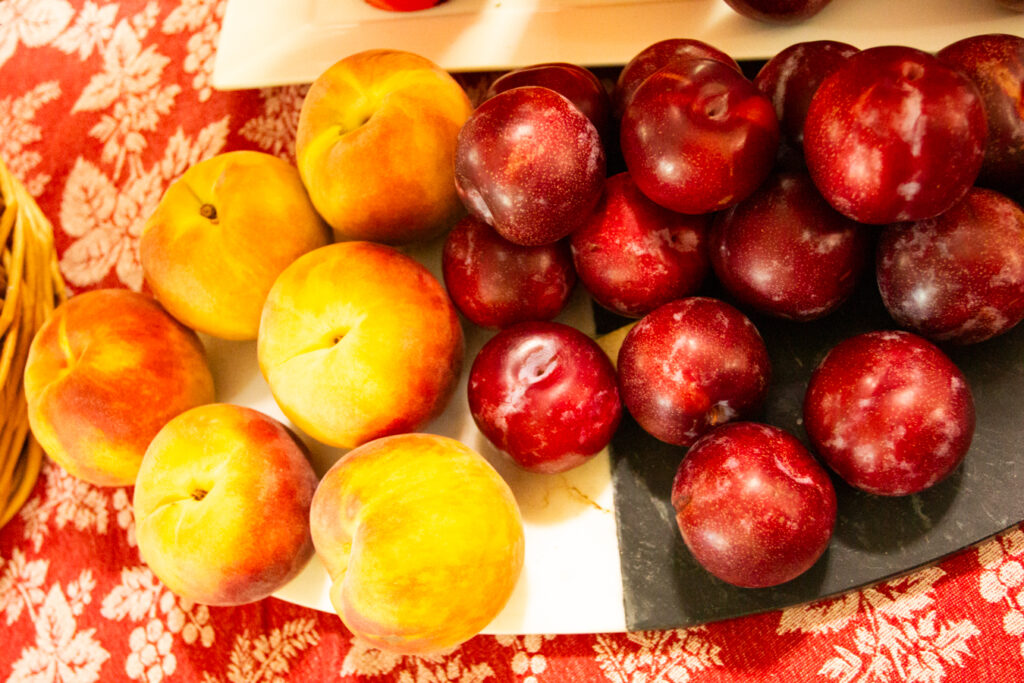
- 8 Plums
- 1/2 C. Lemon Juice (bottled, not fresh squeezed)
- 3 C. Turbinado Sugar
- 1/2 tsp. Allspice
- 1/2 tsp. Cardamom
- 1/2 tsp. Ginger
- 1/2 tsp. Nutmeg
- 1 tsp. Cinnamon
- 1 tsp. Vanilla Extract
WATER BATH CANNING TOOLS:
- A sieve, strainer, food mill, or ricer for catching any seeds or stems that should not be in the finished product.
- Jars, lids, and rings
- Jar lifter
- Wide mouth funnel
- Debubbler
- Water bath canner
- Spoon for stirring
- Ladle
- Stock Pot
- Mixing Bowl
- Spatula
- Measuring Cup
- Wooden Cutting Board
- My favorite Flour Sack Towels
HOW TO MAKE SPICY PLUM JAM
Canning advice: please follow the applicable rules and advice for canning safety. Your altitude, type of canner, jars, lids, and rings could require an adjustment to the recommendations given below. The Ball Book of Canning and Preserving as well as Everything Worth Preserving by Melissa K. Norris go into greater depth as to rules for canning safety.
- Remove the pits from the fruit. Cut plums into chunks.
- In a mixing bowl, add plums, lemon juice, spices, and sugar. Lightly toss all ingredients together. Put stock pot in the fridge overnight.
- The next day, put 1/2″ water on the bottom of a stock pot. Transfer the fruit mixture from the mixing bowl to the stock pot.
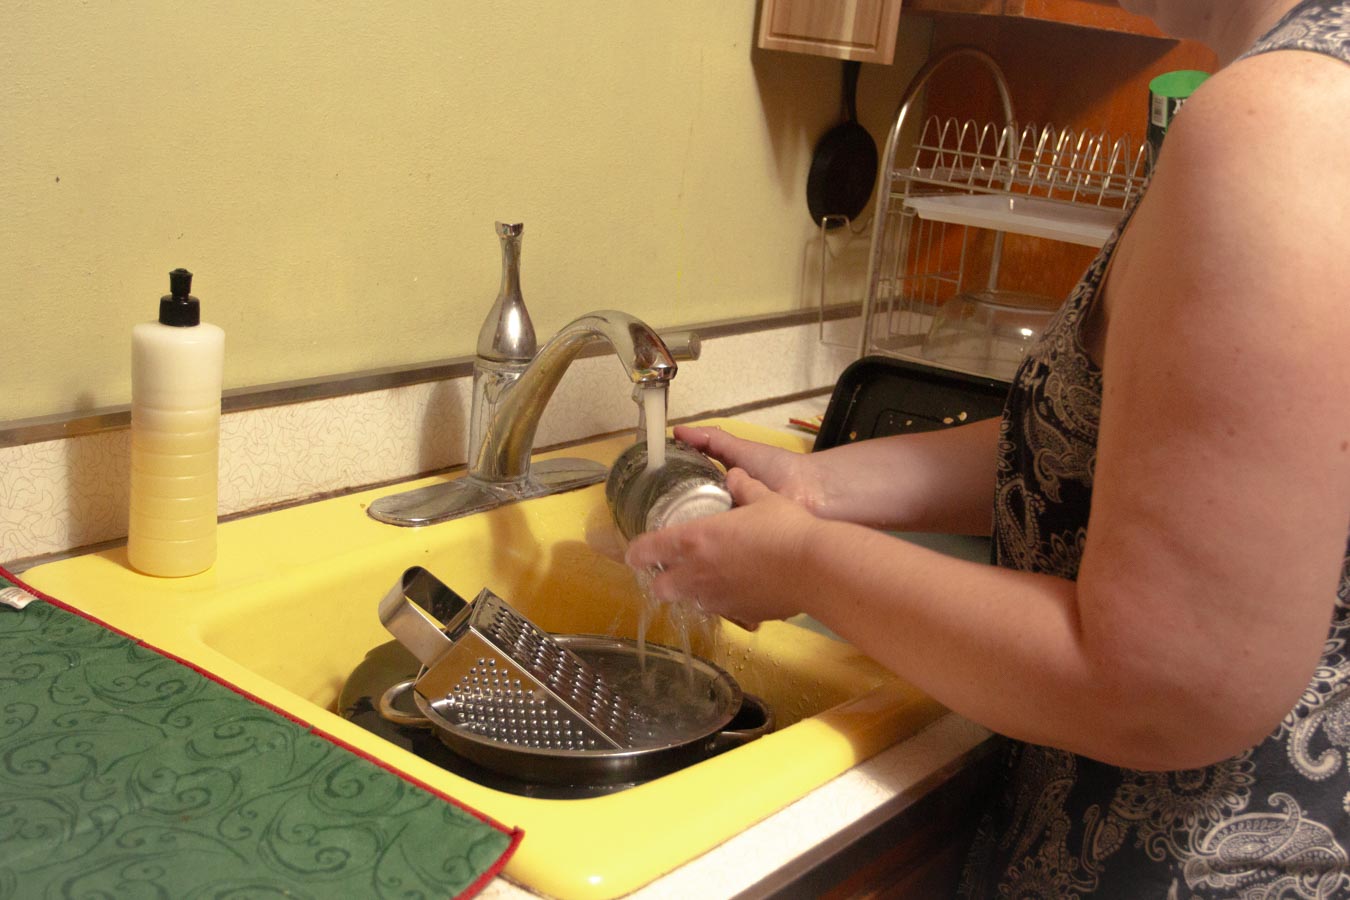
- Sterilize your jars and lids. You can do this in the sink with hot water, in a dishwasher with a heat dry, or in the water bath canner.
- Place rack on the bottom of the water bath canner.
- Add water to midway, but not full. (Once the jars are in the canner, the water should be 1″-2″ over the tops of the jars.) Begin slowly heating the water bath canner while you complete the rest of the process. It should be warm, but not boiling as you complete the rest of the process.
- Separately, bring fruit mixture to a boil, then reduce heat. Simmer 18-20 minutes and stir to prevent it sticking to the bottom of the pan. Optional: you can boil a cinnamon stick or two in this mixture for extra spice.
- Strain hot plum mixture through a colander, ricer, or food mill to catch any large bits that you don’t want in your jam.
- Using the wide mouth funnel, ladle hot jam into jars with 1/4″ headspace. Use the debubbler to remove air bubbles and wipe the rims with a clean cloth. Place lids and bands on the jars fingertip tight.
- Use the jar lifter to add the jars to the water bath canner. Once the jars are in the canner, measure the amount of water over the jars. Make sure it is in the 1″-2″ range.
- Adjust the heat to bring the water bath canner to a full rolling boil. Once it achieves a full boil, start the clock for 10 minutes (adjust for altitude).
- When finished, use the jar lifter to place the jars on a clean folded towel. (This is a heat barrier between the hot jar and your work surface).
- After 12 to 24 hours, remove rings and check seals by tapping on the lids. None of the lids should pop up when pressed.
- Store in your pantry for later use.
Spicy Plum Jam
Equipment
- A sieve, strainer, food mill, or ricer for catching any seeds or stems that should not be in the finished product.
- Jars, lids, and rings
- Jar lifter
- Wide mouth funnel
- Debubbler
- water bath canner
- Spoon for stirring
- Ladle
- stock pot
- Mixing Bowl
Ingredients
- 8 Plums
- 1/2 C. Lemon Juice bottled, not fresh squeezed
- 3 C. Turbinado Sugar
- 1/2 tsp. Allspice
- 1/2 tsp. Cardamom
- 1/2 tsp. Ginger
- 1/2 tsp. Nutmeg
- 1 tsp. Cinnamon
Instructions
- Canning advice: please follow the applicable rules and advice for canning safety. Your altitude, type of canner, jars, lids, and rings could require an adjustment to the recommendations given below. The Ball Book of Canning and Preserving as well as Everything Worth Preserving by Melissa K. Norris go into greater depth as to rules for canning safety.
- Remove the pits and cores from the fruit. Cut plums and apples into chunks.
- In a mixing bowl, add plums, lemon juice, spices, and sugar. Lightly toss all ingredients together. Put stock pot in the fridge overnight.
- The next day, put 1/2″ water on the bottom of a stock pot. Transfer the fruit mixture from the mixing bowl to the stock pot.
- Sterilize your jars and lids. You can do this in the sink with hot water, in a dishwasher with a heat dry, or in the water bath canner.
- Place rack on the bottom of the water bath canner.
- Add jars to water bath canner. Add water to midway, but not full. (Once the jars are in the canner, the water should be 1″-2″ over the tops of the jars.) Begin slowly heating the water bath canner while you complete the rest of the process. It should be warm, but not boiling as you complete the rest of the process.
- Separately, bring fruit mixture to a boil, then reduce heat. Simmer 18-20 minutes. Optional: you can boil a cinnamon stick or two in this mixture for extra spice.
- Strain hot plum mixture through a colander, ricer, or food mill to catch any large bits that you don’t want in your jam.
- Using the wide mouth funnel, ladle hot jam into jars with 1/4″ headspace. Use the debubbler to remove air bubbles and wipe the rims with a clean cloth. Place lids and bands on the jars fingertip tight.
- Use the jar lifter to add the jars to the water bath canner. Once the jars are in the canner, measure the amount of water over the jars. Make sure it is in the 1″-2″ range.
- Adjust the heat to bring the water bath canner to a full rolling boil. Once it achieves a full boil, start the clock for 10 minutes (adjust for altitude).
- When finished, use the jar lifter to place the jars on a clean folded towel. (This is a heat barrier between the hot jar and your work surface).
- After 12 to 24 hours, remove rings and check seals by tapping on the lids. None of the lids should pop up when pressed.
- Store in your pantry for later use.
YOU MAY ALSO ENJOY…
- Homemade Butter – Delicious, creamy homemade butter is the pinnacle of home cooking. As Julia Child said, “with enough butter, anything is good.” Savory homemade butter is easy to make, easy to freeze for another day, and requires very few ingredients.
- All Purpose Cleaning Spray – This fragrant, sweet smelling natural cleaner is powerful and effective. It will cut through fingerprints and grime from “doing life” with no problem at all.
- Tomato Sauce for Waterbath Canning – This delicious, unseasoned tomato sauce is the base for so a wonderful comfort foods: tomato soup, spaghetti sauce, pizza sauce, chili, or ketchup. So many of our favorite foods are based on this original classic.
- Chocolate Pudding from ScratchA beautiful smooth, creamy pudding with chocolatey goodness. It is perfect for eating with homemade whipped cream.
- Peach Pie with Flaky Sourdough Crust – This amazing peach pie is delicious and flavorful. Summer is simply not allowed to end without peaches. The crust is flaky and buttery, the filling tart and sweet, bursting with all the goodness of summer. Top this with homemade whipped cream for the crown jewel.