

“A splendid Midsummer shone over England: skies so pure, suns so radiant as were then seen in long succession, seldom favour even singly, our wave-girt land.”
— Jane Eyre, Charlotte Brontë, Chapter XXIII
This letter may contain affiliate links. As an Amazon Associate I earn from qualifying purchases, at no extra cost to you.
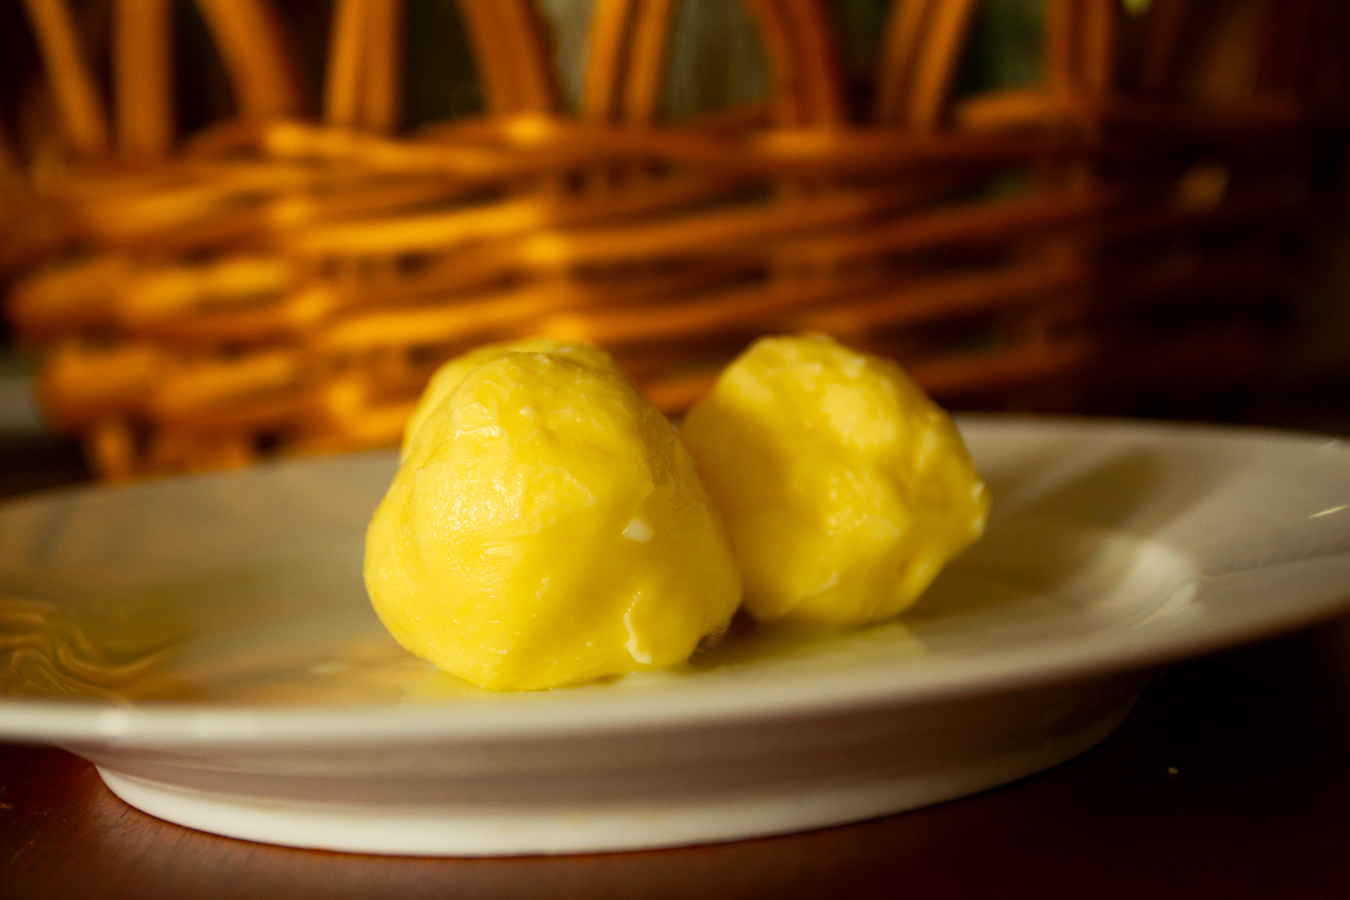
Jump to RecipeDelicious, creamy homemade butter is the pinnacle of home cooking. As Julia Child said, “with enough butter, anything is good.”
Savory homemade butter is easy to make, easy to freeze for another day, and requires very few ingredients.
When you have a busy schedule, making your own butter feels like a ridiculous task. Why make it when you can buy it? In the olden days, people used to make butter in a butter churn, which was time consuming and sometimes caused back/neck pain. (Remember the scene in the Little House books when Ma churns the butter and presses it into a butter mold?) However, today, making butter is one of the easiest things you will ever make if you use a stand mixer. It is literally easier than getting into your car and going to the store to buy it because the mixer does all the work. (As a bonus, homemade butter is also healthier.)
Because butter freezes so beautifully, it is easy to throw cream into the stand mixer, divide it into portions when done, and make a batch that you can use over time. You can prep enough butter for a week or a month at a time. The less often you have to make it, the better!
There is nothing like a loaf of crusty sourdough bread with homemade butter melting over each slice.
It is very satisfying to watch the butter form out of the cream and fill your refrigerator and freezer with things that you made yourself.
A flavorful, buttery spread, you can enjoy this on bread, in recipes, or to coat a pan. So so so good.
HOMEMADE BUTTER TIPS:
- You can easily make this salted or unsalted. It is up to you.
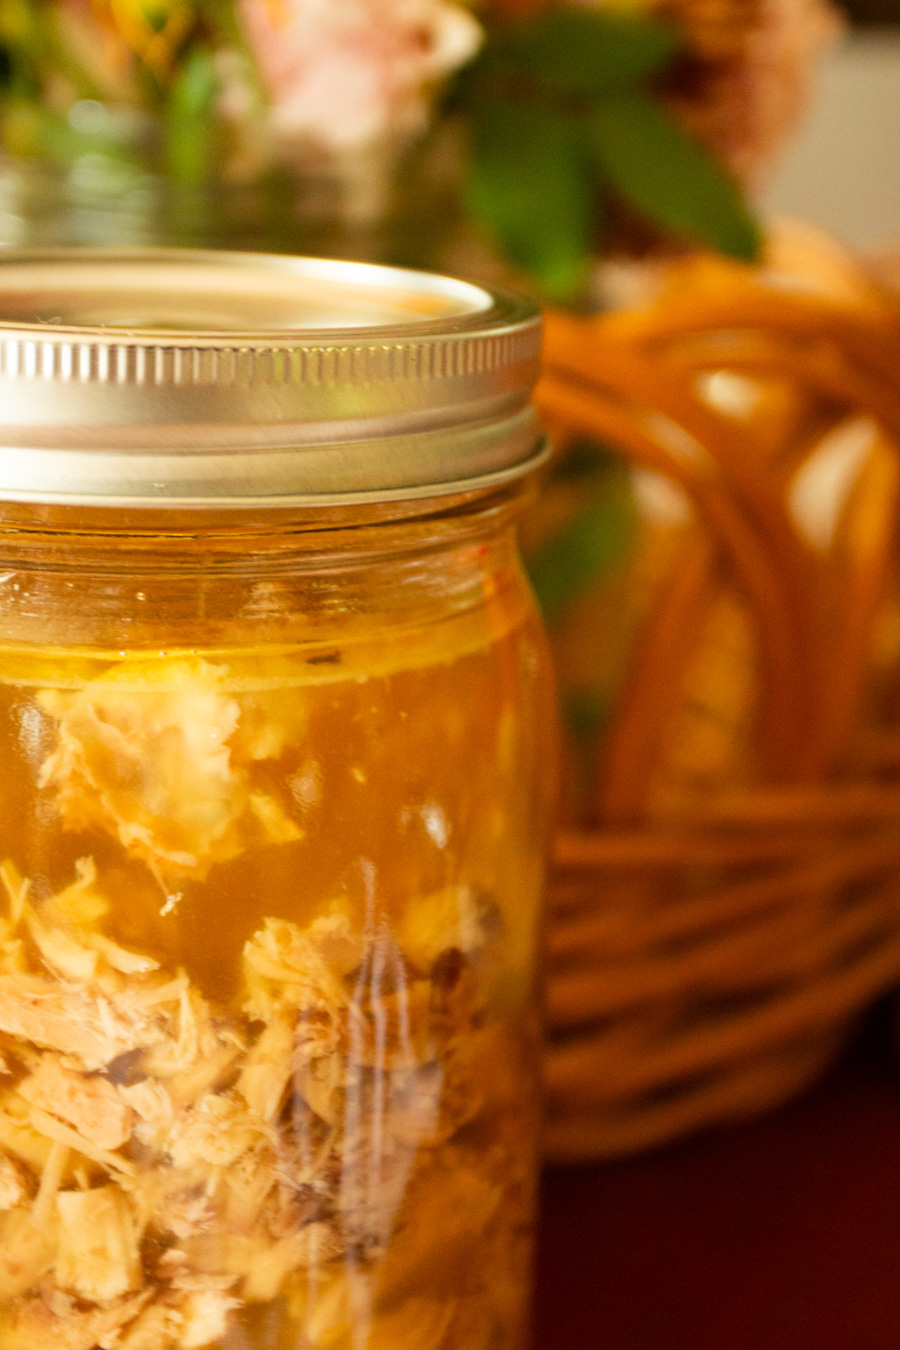
- As the butter forms, it will separate from a cloudy liquid called buttermilk. Most processed dairy items, such as yogurt, butter, sour cream, and various types of cheese produce a high protein byproduct, either whey or buttermilk. Both of these liquid runoffs are high in protein and useful in other types of recipes.
HOMEMADE BUTTER FAQ:
Does making butter yourself save any money?
If you have access to fresh cow and goat milk on a daily basis, homemade butter is a definite cost savings. However, if you are buying heavy cream at the store, it will cost close to the same amount as store bought butter.
Does homemade butter taste better?
Homemade butter will vary in flavor based on the type of cream you have. If you are using goat’s milk, for example, it will have a slightly different flavor than butter made from cow’s milk. If your cream was from a grain fed animal, it will taste different (and have different nutritional qualities) from that of a grass fed animal. Your butter will vary in quality based on the type of cream that you have.
Does homemade butter last?
The shelf life of homemade butter depends on how much whey was rinsed from the final product. With a substantial amount of buttermilk in the butter, it will sour faster. If you thoroughly rinsed the buttermilk, it should last up to 3 weeks in the fridge or 9 months in the freezer. (Homemade Amish butter, however, lasts up to a year because it has more milk fat than regular butter.)
Can I make butter from a gallon of milk?
Butter requires cream, not milk. Before milk is bottled for selling, it is separated from the cream and some of the fat content. (That is why we have 1%, 2%, and other types of milk in grocery stores.) Butter requires a high fat content, which has been removed from the milk. Even if you were to churn plain milk forever, it will never become butter.
Is homemade butter healthier?
Homemade butter is a source of naturally occurring fats. It has no preservatives or trans fats in it like many store bought butter or butter substitutes.
TOOLS:
- Kitchenaid Stand mixer with whisk attachment
- Butter mold
- Spatula
- Mason jar for storing the buttermilk (I’ve collected them from various places, but recently I have been ordering them from Azure Standard)
- Butter paddles (optional – I just use a spatula)
- Wide mouth funnel
INGREDIENTS:
- 1/2 gal Heavy Cream
- 1 Tbsp. Sea Salt (optional)
HOMEMADE BUTTER INSTRUCTIONS:
- Add 1 qt of heavy cream into the stand mixer with the whisk attachment.
- If desired, add 1 Tbsp. salt.
- Begin mixer on low, and then gradually increase to high speed.
- It will begin to stiffen into stiff peaks, but don’t stop there. It will continue to transform into butter after this stage.
- The amount of time will vary based on the amount of cream you began with. For a half gallon of heavy cream, the butter will separate from the buttermilk within about 30 minutes.
- Pour the liquid into a mason jar through a wide mouth funnel.
- Press the butter with the back of a spatula to extract more buttermilk.
- Rinse in cold water to pull more of the excess buttermilk out.
- Press butter into butter mold or airtight freezer storage containers.
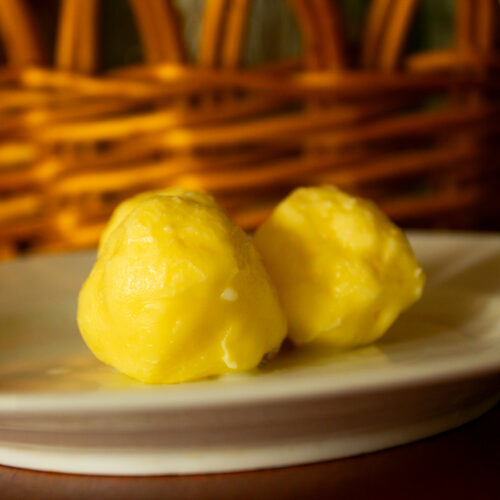
Homemade Butter
Equipment
- 1 Stand Mixer with whisk attachment
- 1 Butter mold
- 1 Spatula
- 1 Mason jar for storing the buttermilk
- 1 Butter paddles (optional)
- 1 Wide mouth funnel
Ingredients
- 1/2 gal Heavy Cream
- 1 Tbsp. Salt (optional)
Instructions
- Add up to 1/2 gallon of heavy cream into the stand mixer with the whisk attachment. (5 gallon stand mixer)
- If desired, add 1 Tbsp. salt.
- Begin mixer on low, and then gradually increase to high speed. It will begin to stiffen into stiff peaks, but don't stop there. It will continue to transform into butter after this stage.
- The amount of time will vary based on the amount of cream you began with. For a half gallon of heavy cream, the butter will separate from the buttermilk within about 30 minutes.
- Press the butter with the back of a spatula to extract more buttermilk.
- Rinse in cold water to pull more of the excess buttermilk out.
- Press butter into butter mold or airtight freezer storage containers.
HOW TO STORE:
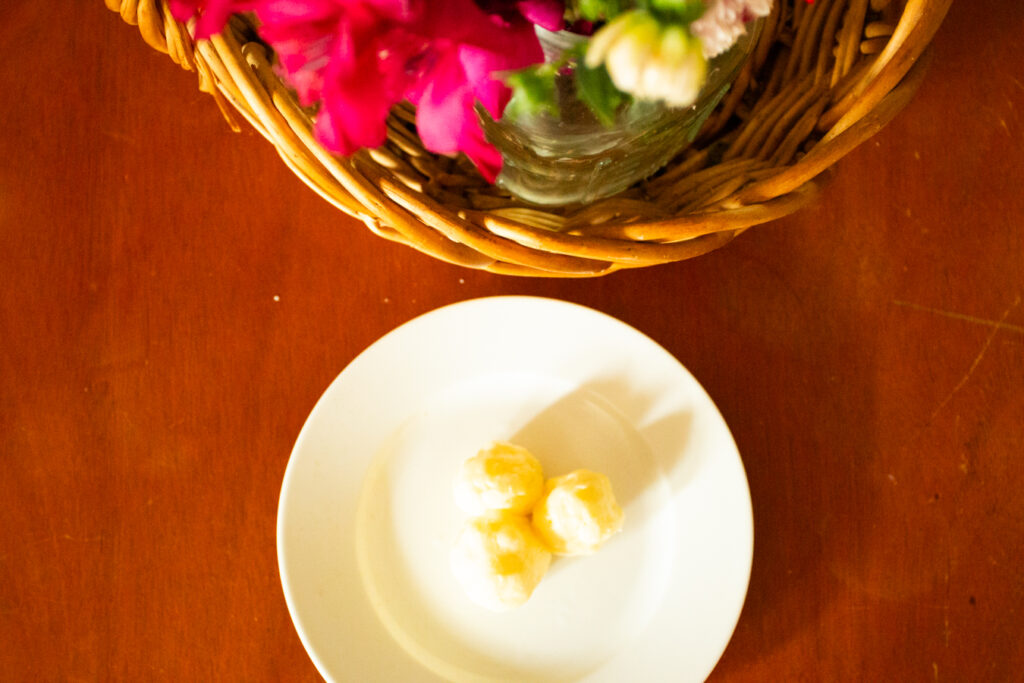
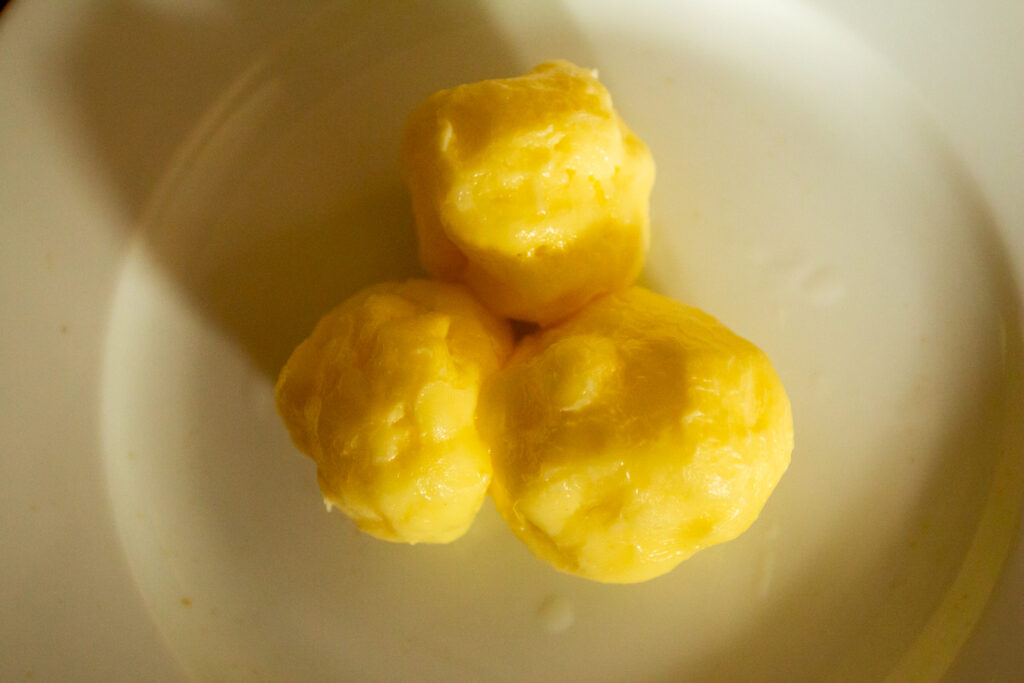
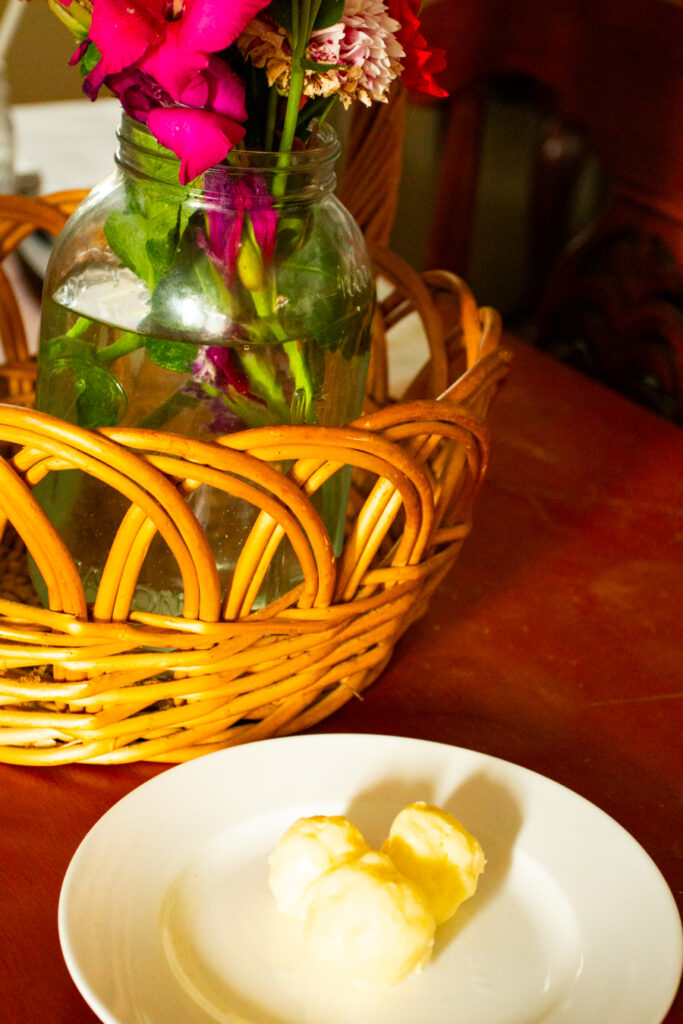
- There are many ways to store homemade butter. Many people over the ages have formed butter into a ball or a log with their hands, wrapped it in a protective wrap of some kind, and stored it in a cool place. However, you can also use a butter mold to shape it into conventional 1/2 cup sticks with tablespoon increments. This is very helpful because many recipes will use the standard stick of butter as a measuring device for how much butter to put into a recipe.
- Other methods of storing include: a butter bell, Mason jar, butter dish, or an airtight freezer container.

YOU MAY ALSO ENJOY…
- All Natural Homemade Play Dough – This is an easy, all natural, non-toxic way to keep your littles occupied while you make dinner or take care of the house. It is completely edible and guilt-free to toss in the compost when it begins to dry out.
- How to Grow Green Beans & Peas – Looking to plant vegetables that are easy to grow? Try green beans and peas. If you are discouraged, you will need some quick wins. Green beans and peas are very simple: you direct sow them (no seed starting!) and they will produce heartily for you.
- Easy No-Fuss SushiSince all the ingredients are cold, the art is in the rolling technique rather than the cooking technique. After you cook your rice, there is no additional cooking required.
- Simple Oat Milk – Oat milk has a reputation of being overpriced, slimy, and overall just better to avoid. However, this recipe will make a decent option if you need to add a carb to your morning coffee.
- How to Grow a Perennial Herb Garden – If you are new to gardening and couldn’t quite master the art of tomato growing (yet!), give herb gardening a try. When I first began gardening, some things were a complete flop. The tomatoes never came up, the beans dried out, the broccoli got eaten by pests. It was an abysmal failure except for one thing: the herb garden.


3 Comments